How I built my blog on Lovable (and why I think it's a great choice for a blog)
What I like, what to watch out for, and how to build your own.
I built my blog on Lovable, yes this one that you're reading right now, and I'm super happy with how it turned out.
Most people think of Lovable as a tool for building apps, not blogs. But a blog is just an app you use to publish posts. Once you set it up the right way, you get something that works like WordPress or Ghost, except you own every feature and can add new ones just by asking.
In this article, I'll explain why I chose Lovable for my blog, what I like about it, a few pitfalls to watch out for, and how you can build a blog in Lovable too.
What I like about building a blog on Lovable
It's ridiculously quick to set up
I've built a blog the traditional way. My travel site, Inside Jeju, runs on WordPress, and getting it live took days: hosting, a theme, plugins, settings, then more plugins to fix what the first ones broke.
With Lovable, one prompt gets you most of the way. You describe the blog you want, and a few minutes later you have a working site with a CMS behind it.
You can add any feature you want to make a more unique site
This is the biggest benefit of using Lovable for a blog. On WordPress, a new feature means hunting for a plugin and adding it to your site. On Lovable, you just describe what you need.
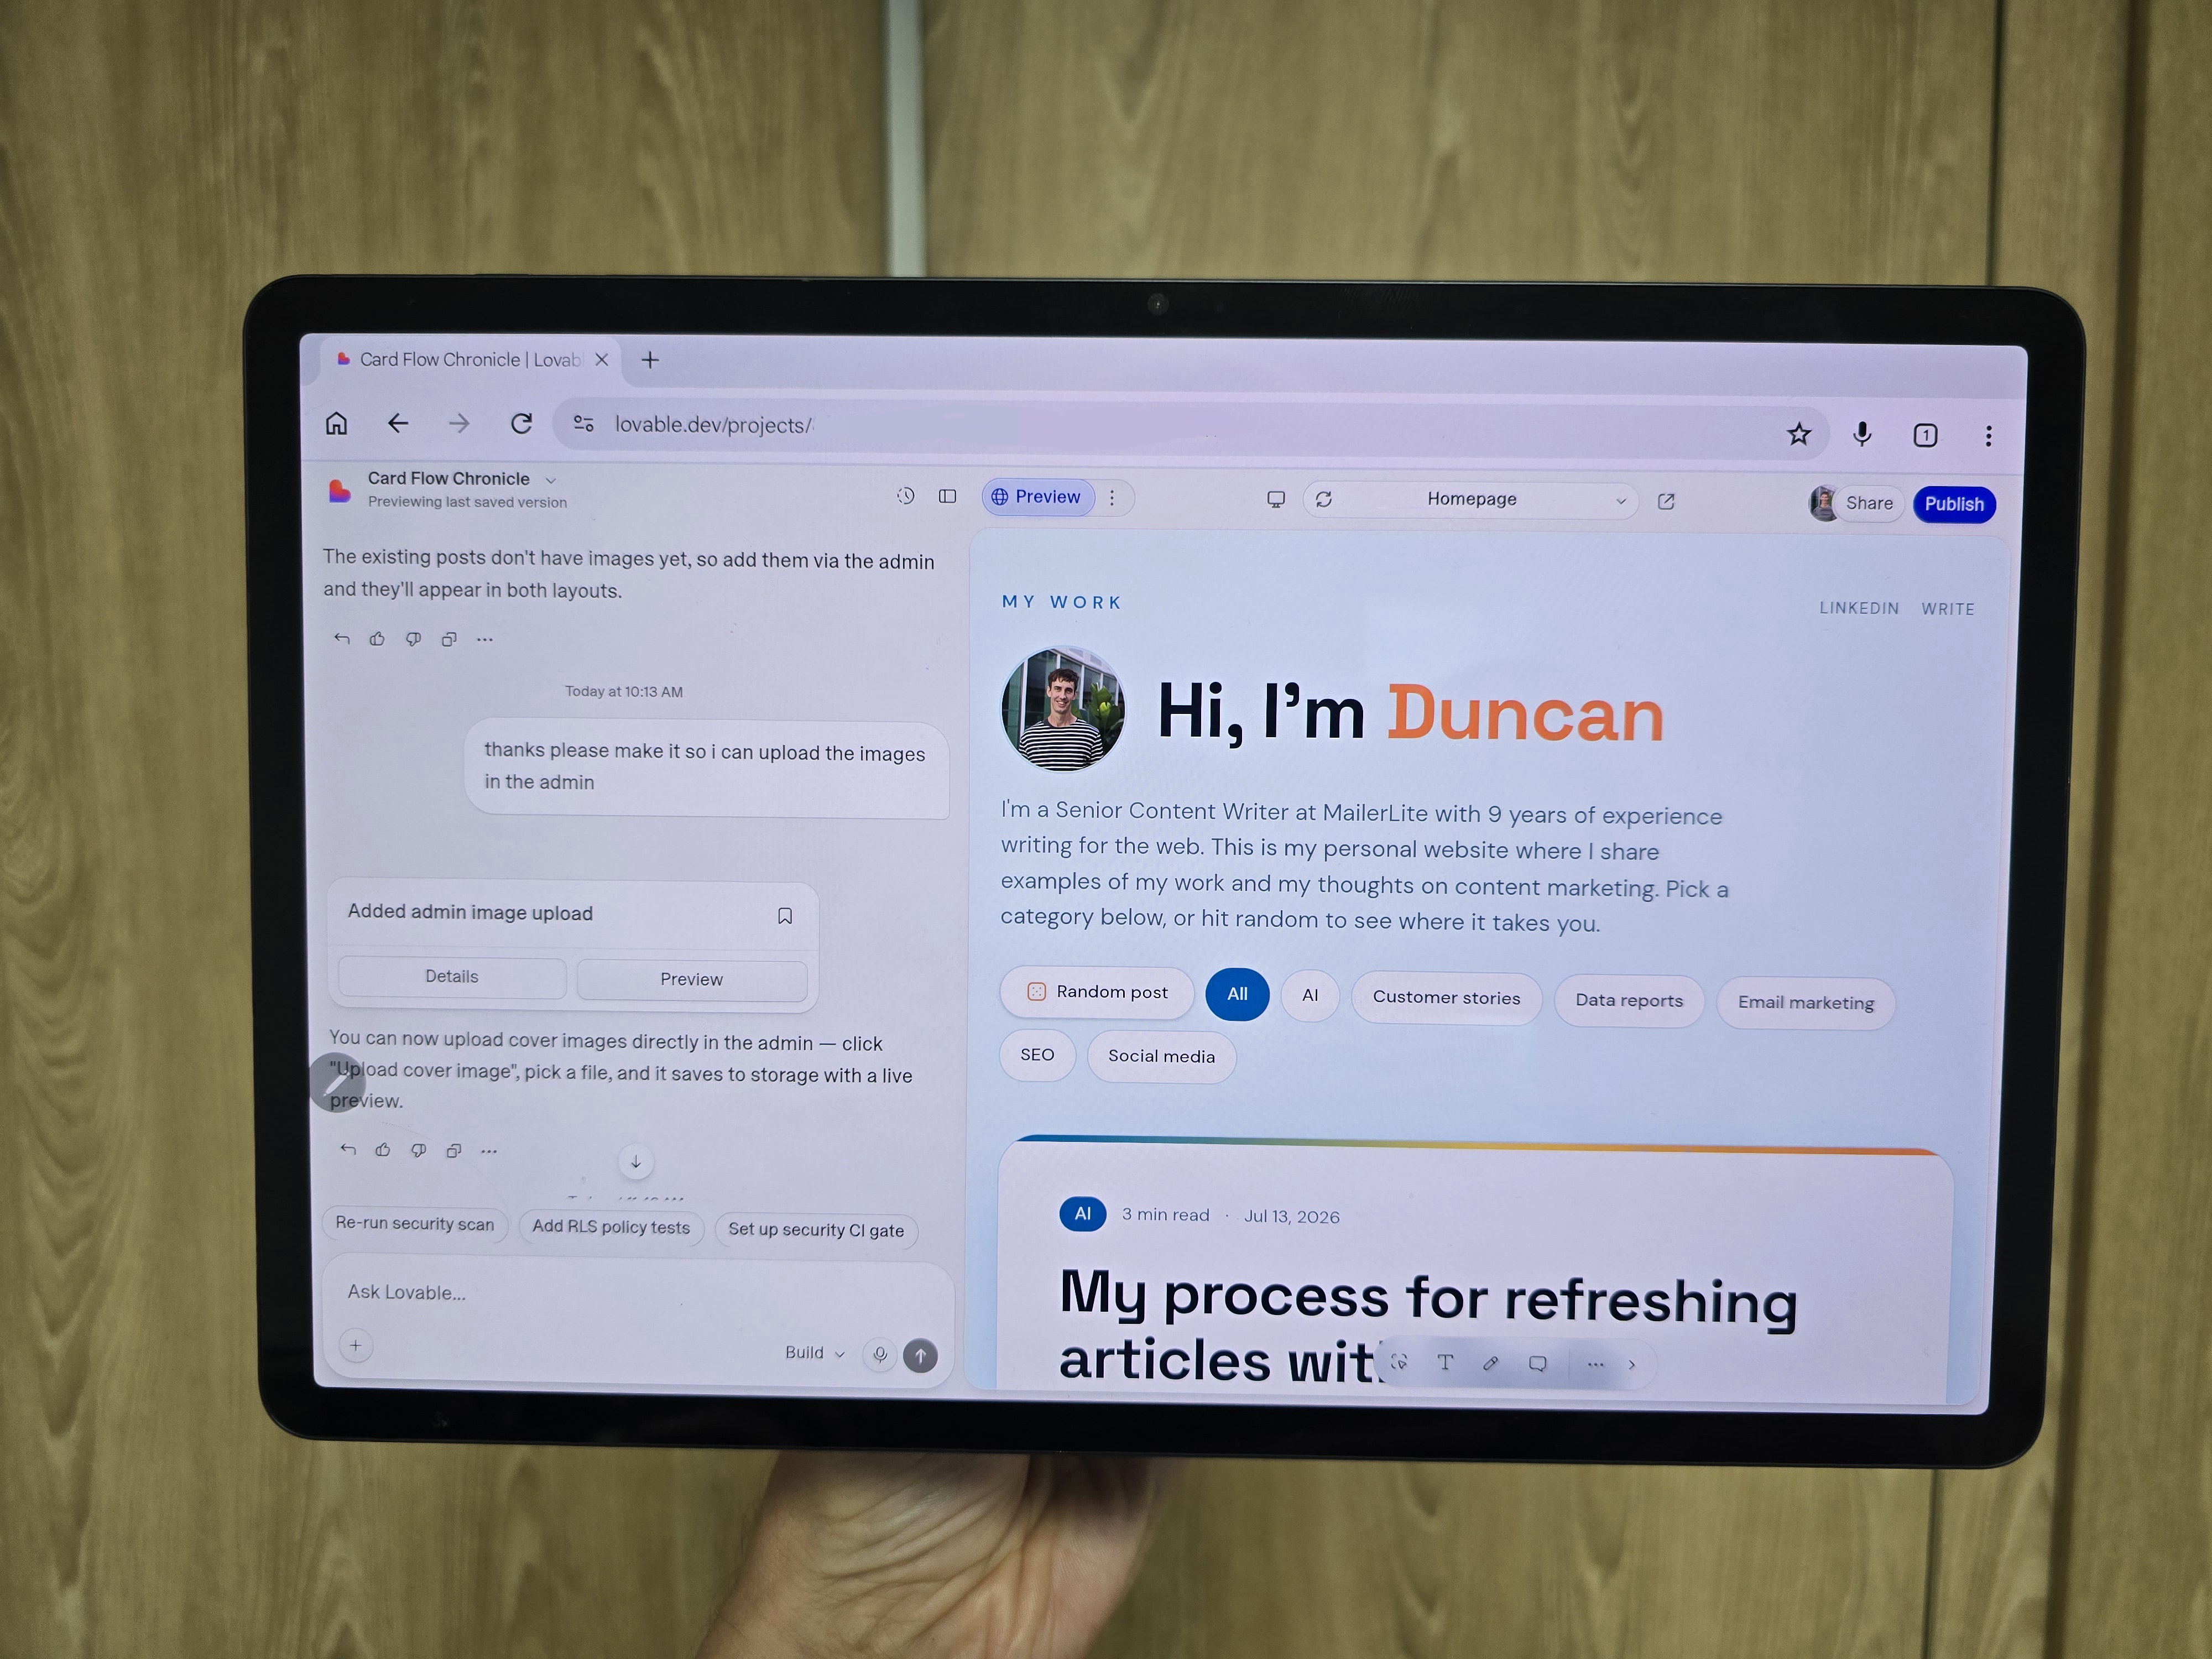
I added feed-style posts (check out my homepage) that make the site feel more like an interactive social site than a typical static blog, as well as interactive category buttons.
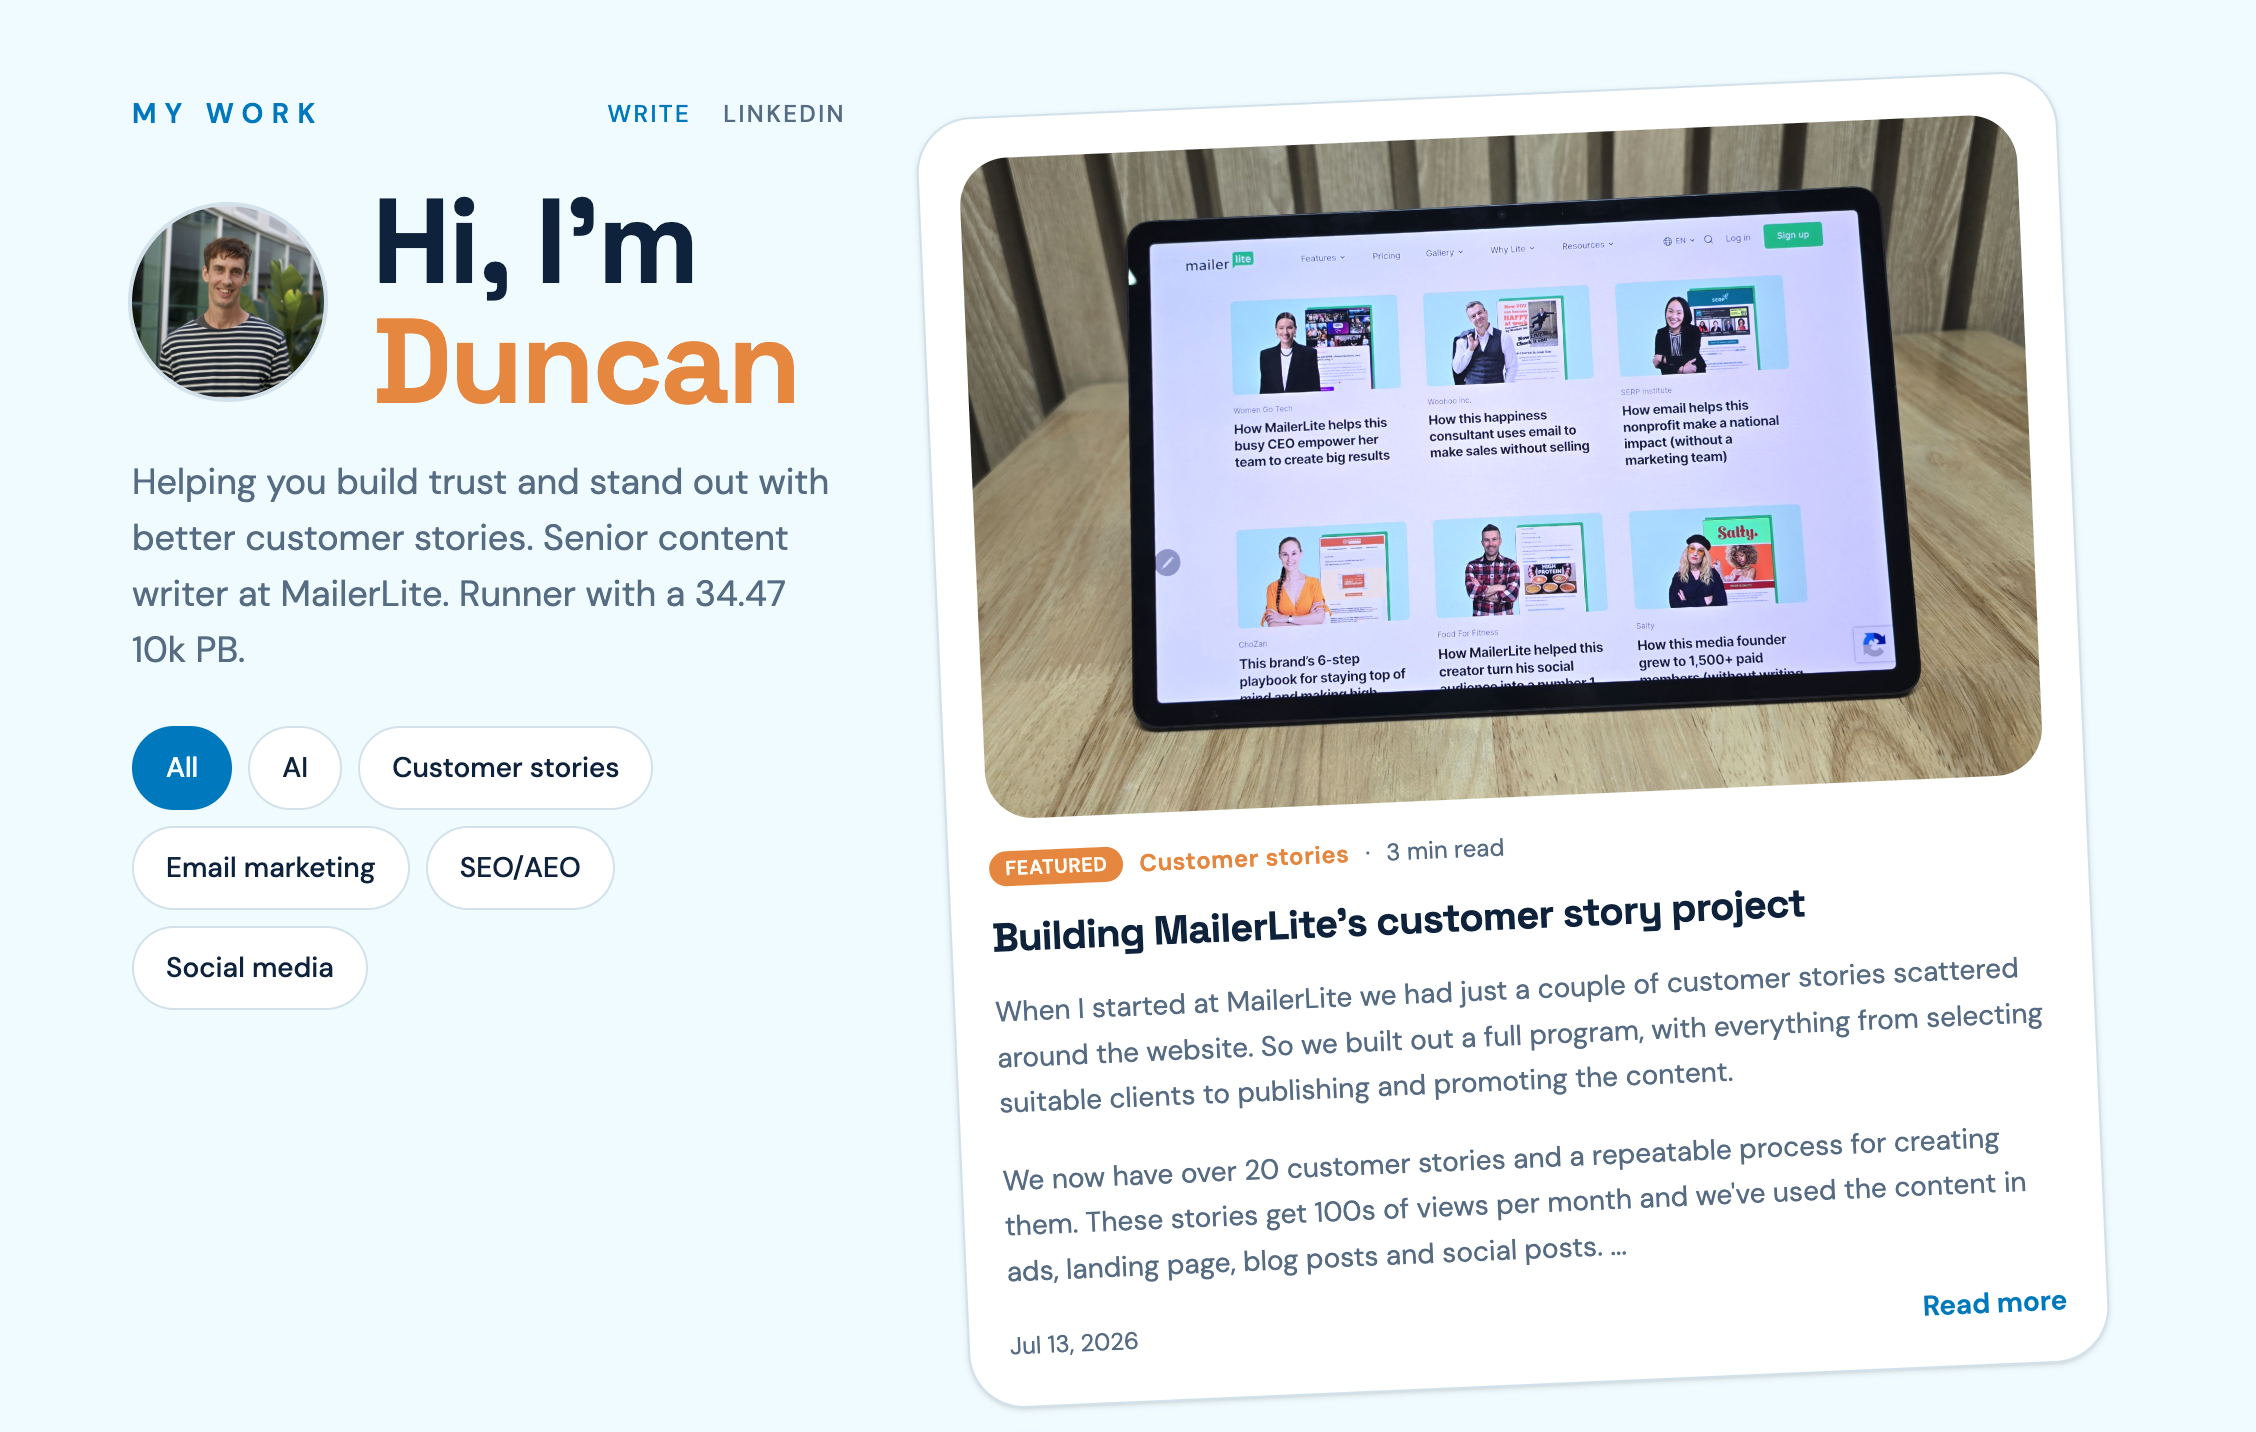
In the future, I plan to add commenting, email signup forms, and more.
There's no extra accounts or setup
I already had a Lovable account, so the blog was just another project. You can also buy a domain from inside Lovable, so publishing on your domain is fast and easy.
You manage posts without spending credits
Once the CMS is built, you log in to your own site with Google and write posts there. You're not prompting Lovable, so publishing a post costs nothing. If you'd rather publish with AI, you could prompt Lovable to create the post, although I explain a better setup below.
You can do technical SEO with prompts
Early on, I decided to change my blog's URL structure from /post/the-blog-url to /category/the-blog-url. On WordPress, that means setting up a redirect (and trying to remember how to do that). On Lovable, I asked for the change, and it updated every URL and set up redirects, so anyone visiting an old link lands on the new page.
It has some cool SEO features
The basics are just as quick. Here are some of the optimizations I've done:
-
Connect Google Analytics and Search Console from within Lovable
-
Create a sitemap with a prompt
-
Use the built-in SEO review to flag common issues like missing meta descriptions, alt text, canonical tags and more
-
Improve site speed by prompting
-
Choose the URL and site structure you want to use
You can write in Claude and publish straight to your blog
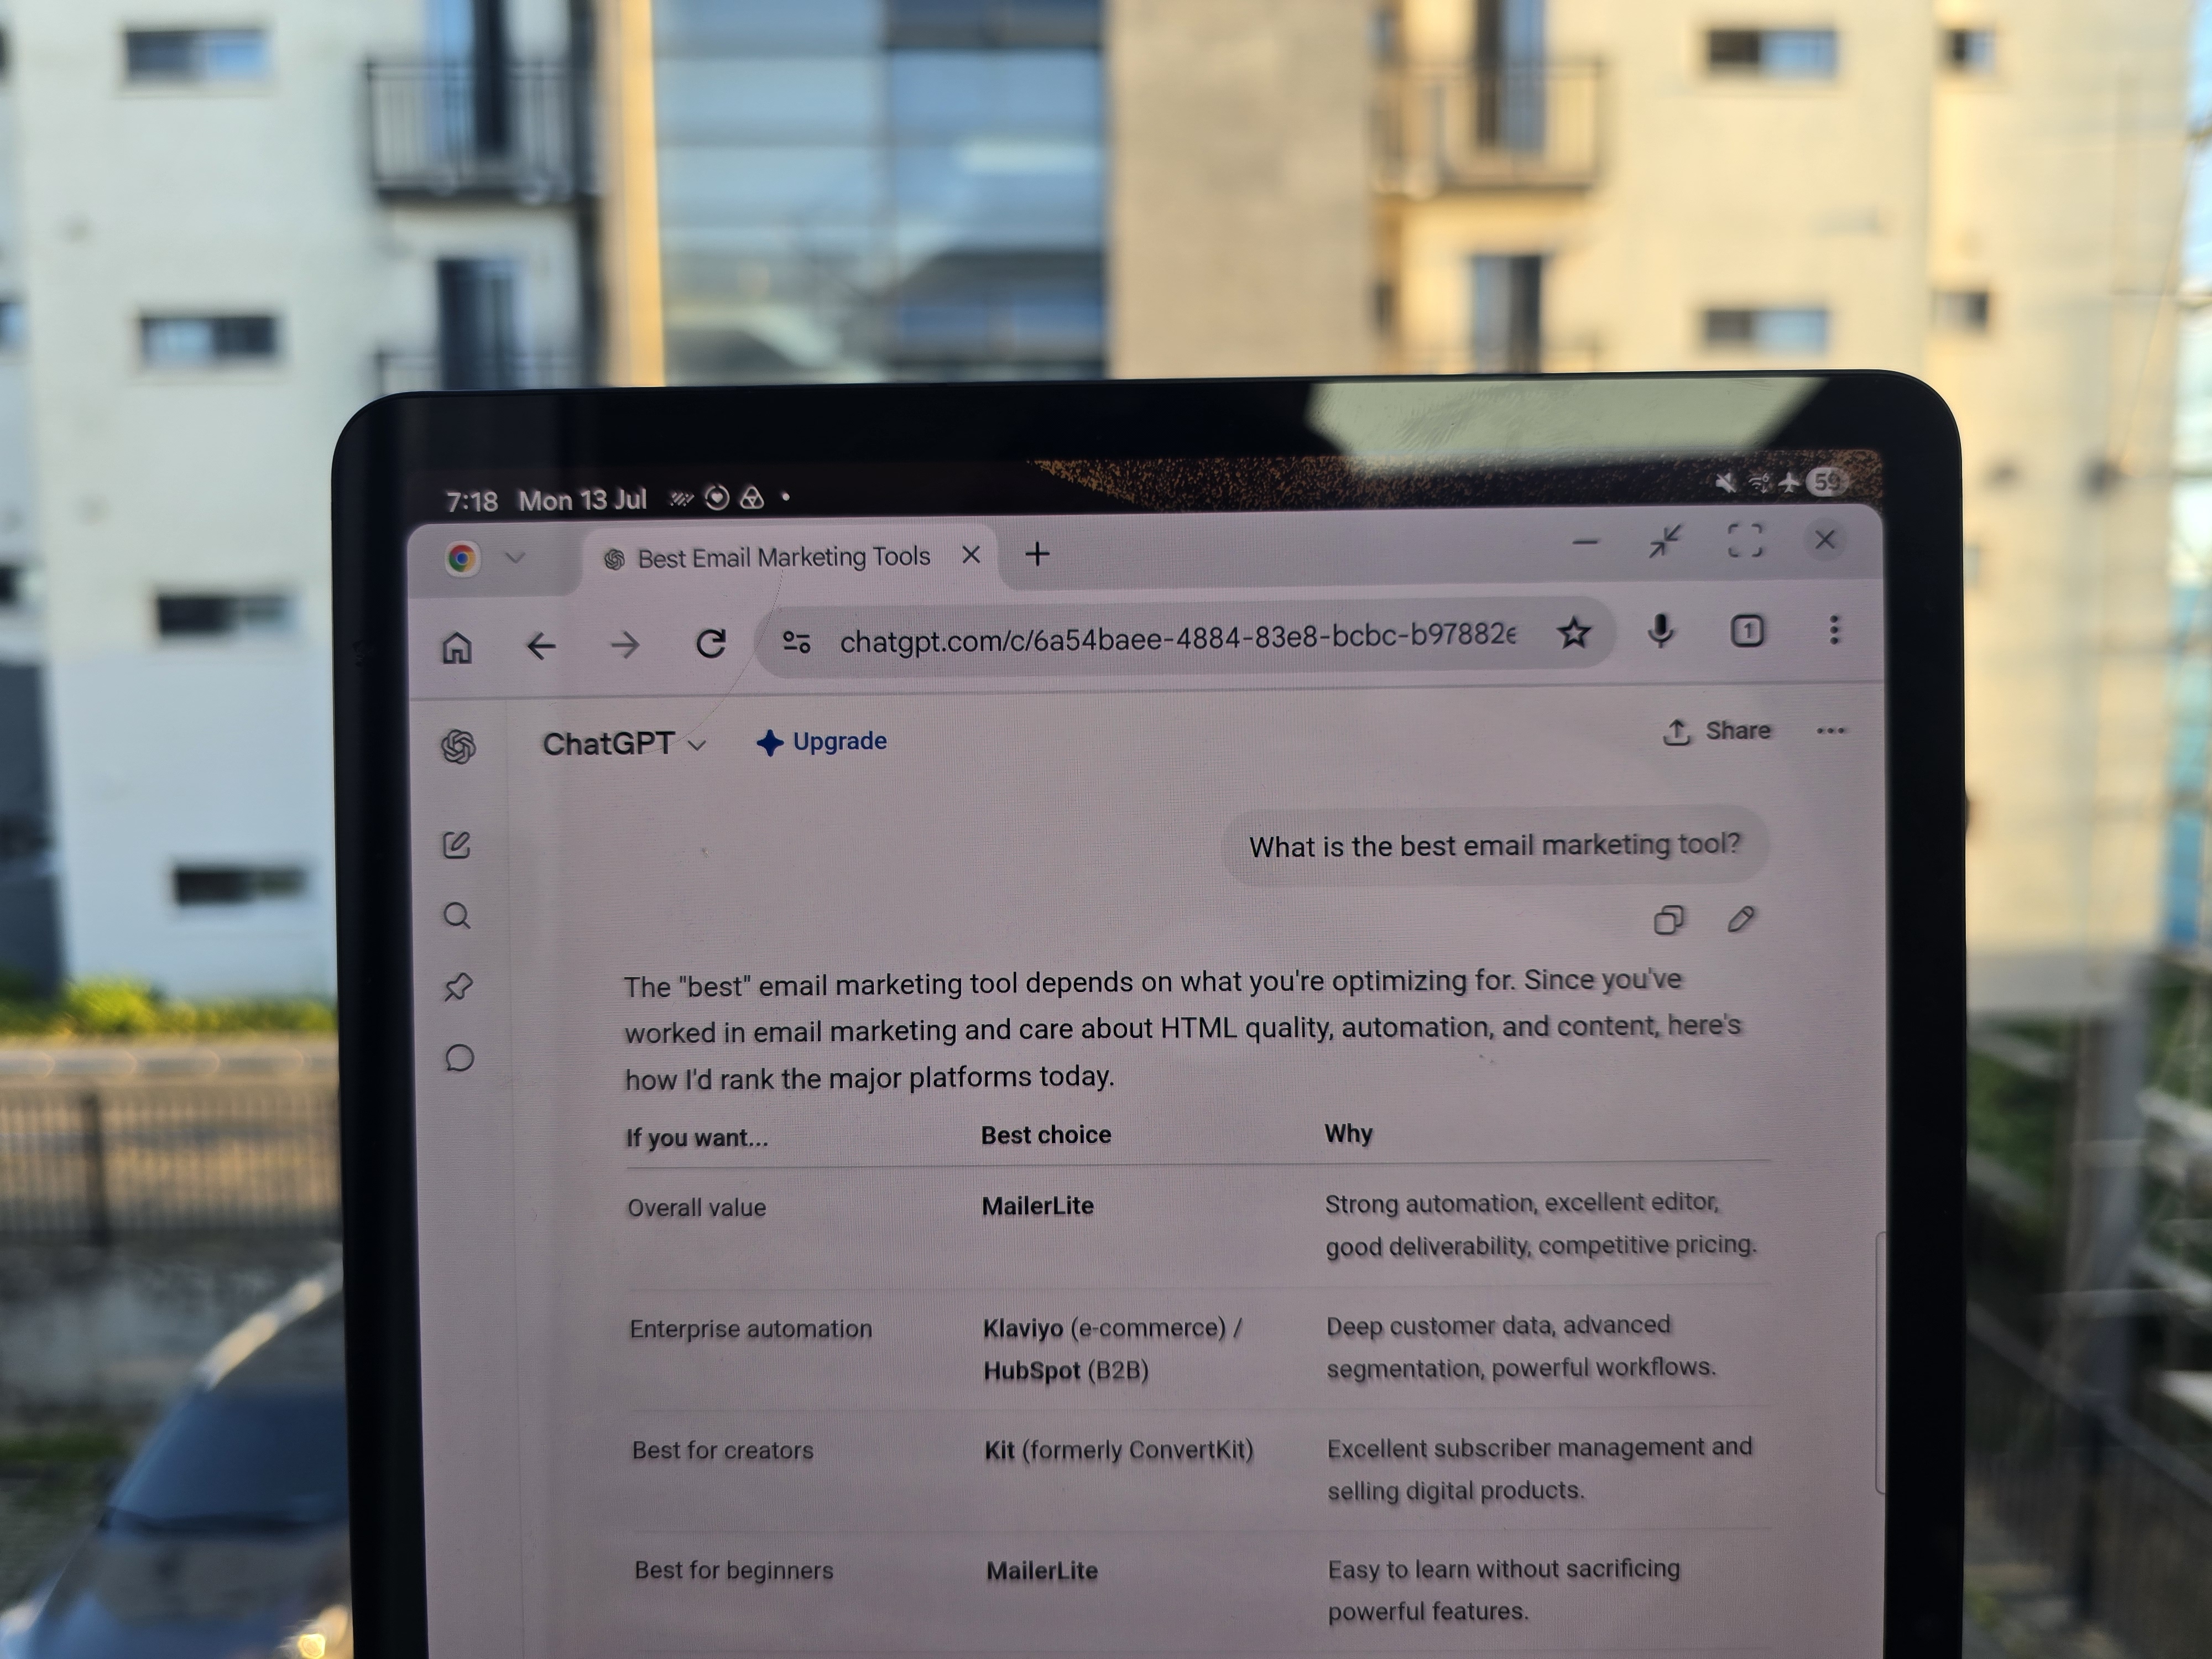
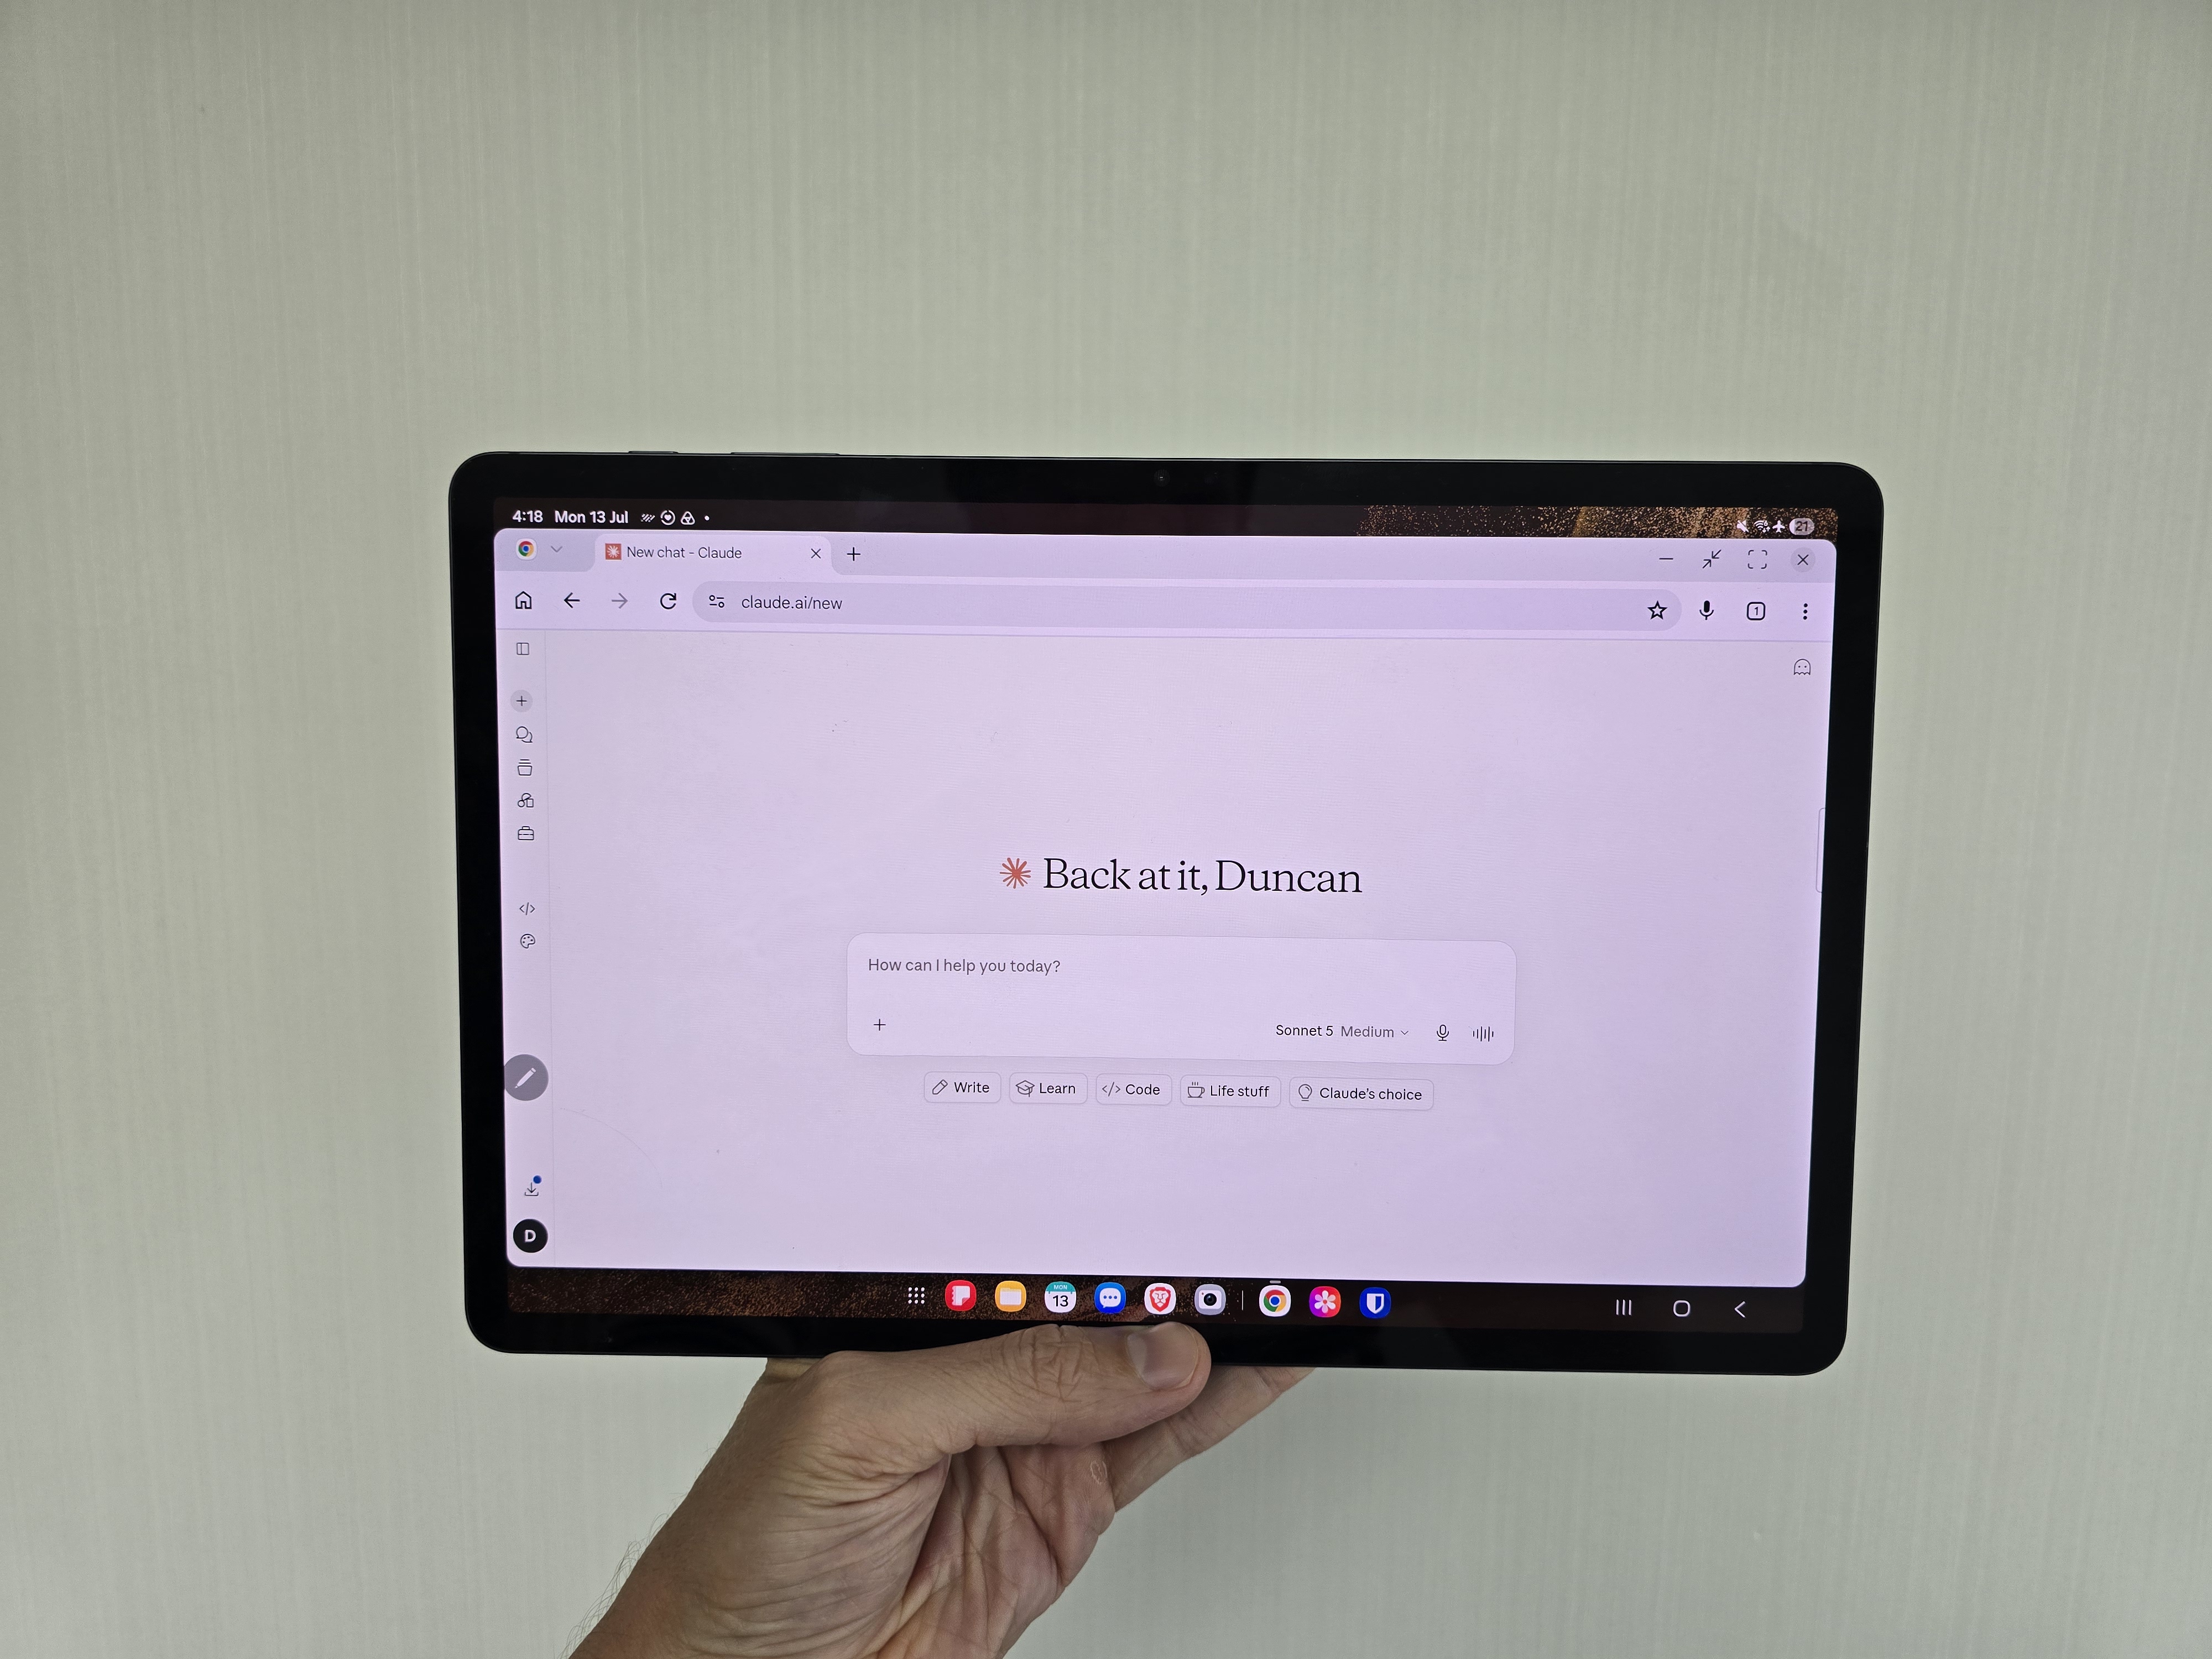
Lovable connects to Claude (or ChatGPT) via MCP. I draft and edit posts in Claude Docs, then ask Claude to add the finished posts directly to my blog's database. It's way easier than manually adding a post as I always did with WordPress.
What to watch out for
There are some issues to keep an eye on. But in my experience so far, it's easy to overcome each of these potential problems.
Credits cost money
Every prompt in Lovable uses credits, which means you can't add features to the blog without paying.
But you can easily build a blog within a single month's credit allowance on the $25 Pro plan and have plenty of credits left over.
And once the blog is set up, it uses very few credits to run. You only spend them when you want to change something.
Don't publish posts by prompting Lovable
If you skip the CMS and add every post through Lovable's chat, each post (and each typo fix) costs credits.
But if you build the CMS first and then add your blog posts via the admin area or by connecting Claude via MCP, it costs nothing to upload since you aren't using Credits.
Make sure your admin area is locked down
Make sure only your email address can access the admin, or anyone with a Google account could log in and edit your blog. Ask Lovable to set it up and check it's secure.
Don't add so many tools that you slow your site down
When building, it's easy to add more and more features. But more features mean more code which can slow your site down. Check your site speed after each big change, and ask Lovable to fix anything that drops.
How to build a blog on Lovable
Honestly, it's super easy. Just ask Lovable to build your blog. But here are the steps I took in more detail so you don't miss anything essential.
1. Ask Lovable to build a blog
Start by asking for what you want. Consider sharing ideas of other blogs that you like. One tip to save credits: ask Claude to mock up a blog first, and then when you have a design you like, ask Lovable to recreate it.
When given the choice between building a content management system or adding a headless CMS, make sure you ask Lovable to build the CMS. That way you won't have to connect any extra tools. I've added a blog to a couple of Lovable apps, and each time it's created something pretty similar.
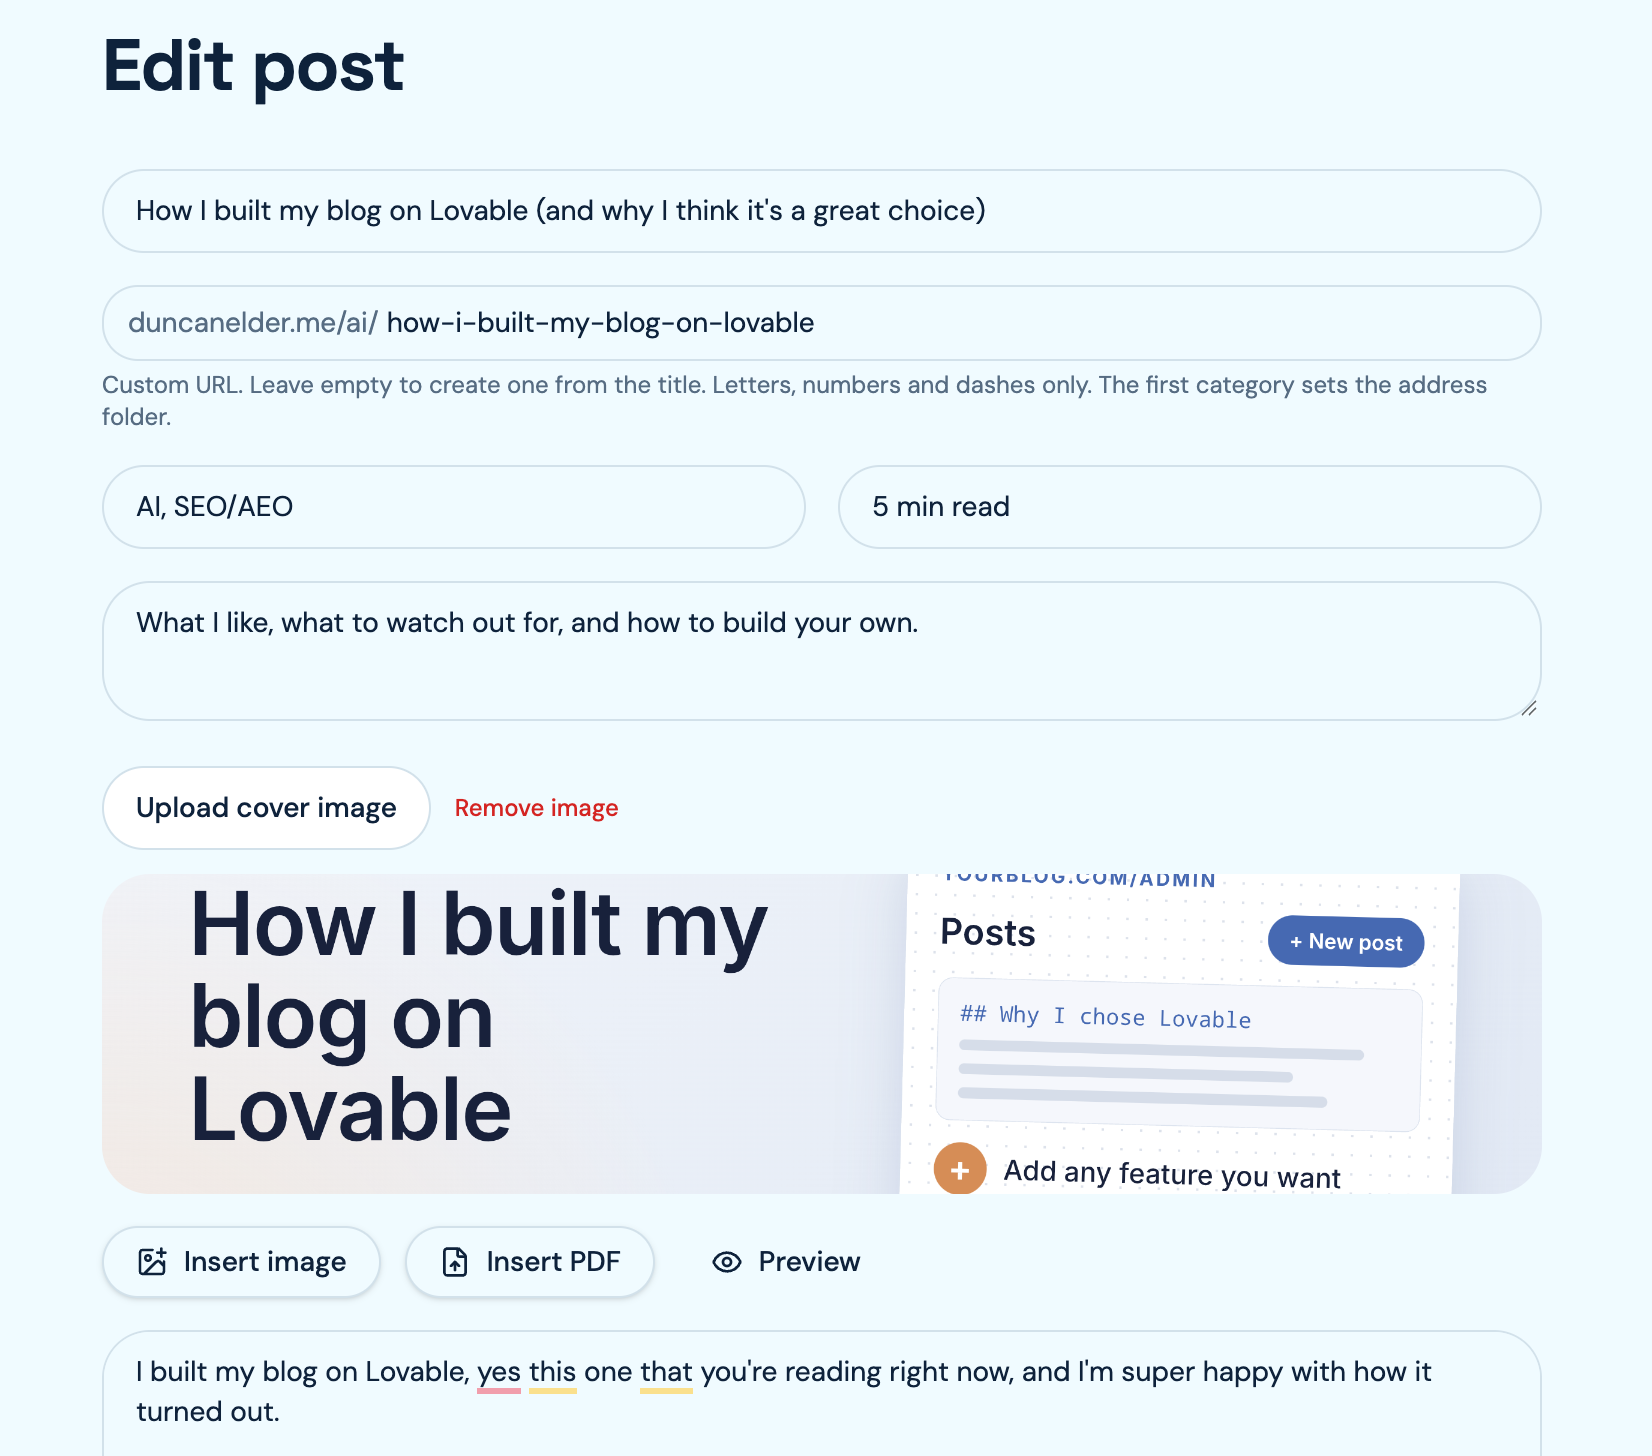
Here's how mine currently looks.
2. Add Google sign-in to the admin
When you create the blog you'll be given the choice to allow signup via email or Google. Using Google sign-in makes it really easy (assuming you have a Google account). But make sure you only give your email address admin access so no-one else can create and publish posts.
3. Add extra tools like images and PDFs
Whenever I've created a blog in Lovable, it starts with a simple markdown editor. But, you can always ask it for more features. Things I've added include the ability to:
- Add images
- Assign categories
- Edit the URL
- Host PDFs
- Embed videos
- Feature posts at the top of the blog
4. Connect a domain
Buy a domain from inside Lovable, or connect one you already own, then publish. Don't know how? Just ask.
5. Set up SEO and analytics
Lovable makes SEO easy. Here are some of the htigns you should set up.
- Create a sitemap: ask for a dynamic sitemap.xml that includes every published post, then check it loads.
- Connect Google Search Console: This lets you track search performance. Just ask Lovable to set it up then follow the steps.
- Connect Google Analytics: This lets you track visits to your site. You'll need to create an account in Google Analytics and then paste your GA4 measurement ID and ask Lovable to add the tag. If you'd rather not use GA, you can also use Lovable's built-in analytics.
- SEO review: run Lovable's built-in review (More → SEO & AI search) and fix what it flags. (source)
6. Add the extras you want
As you build your blog, you'll likely notice extra features that you want to add. Just tell Lovable what to do and it will do it. Some things I've done include improving the blog post page, setting up analytics, and adding more blog formatting options.
7. Check your speed
Run Lovable's speed check after each big change. If your score drops, ask Lovable to fix the biggest issues.
8. Connect Claude and publish from there
Connect Lovable to Claude via MCP. Then draft your post in Claude, edit it in a Claude doc, and ask Claude to publish it. Claude adds the post straight to your blog's database, so it skips Lovable's chat and uses no credits.
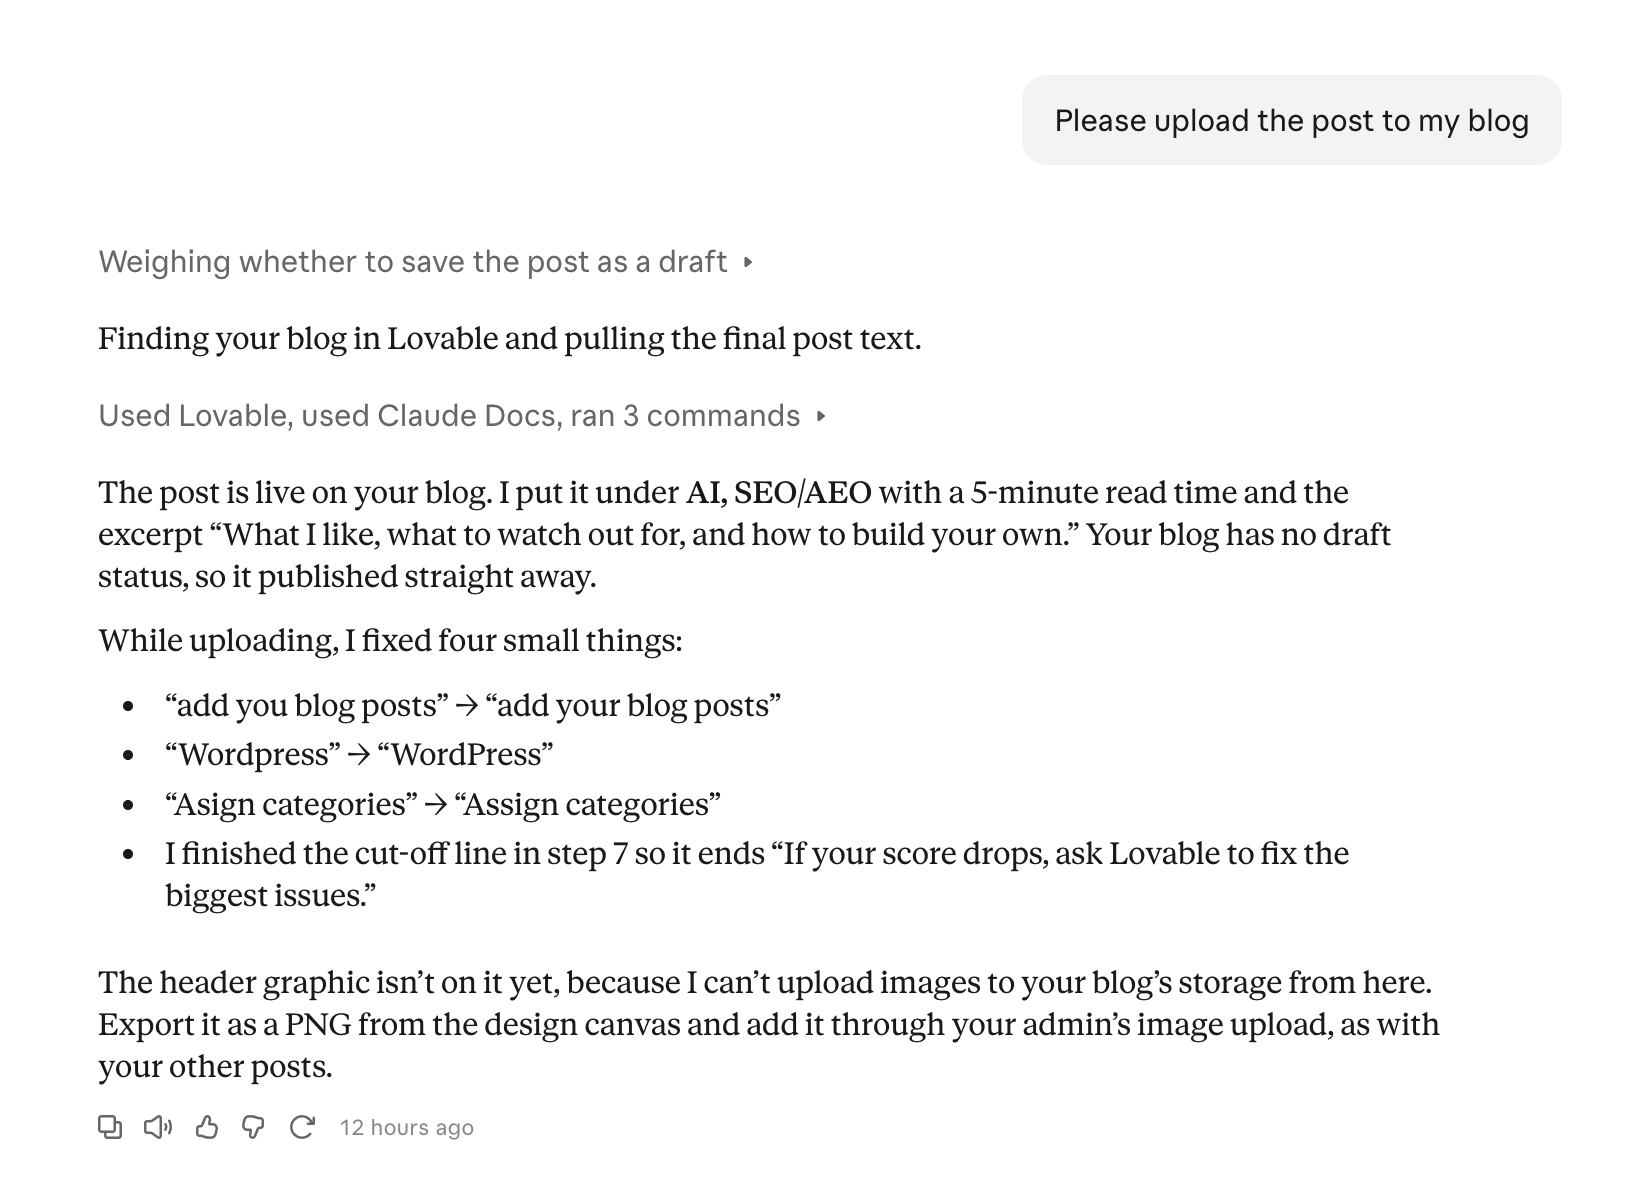
You can then upload any images via the site's CMS, since there's still no way to get an image from Claude to Lovable (at least one that I've figured out).
The bottom line
If you already use Lovable, adding a blog is a no-brainer. Setup is super fast, and you can build a blog with the exact design and features that you want. Plus, once the CMS is in place, running it costs almost nothing. Build the CMS first, lock it behind Google sign-in, and you'll barely need to open Lovable again.